Does your Windows 10 feel slow and boggy? You’re not alone. Even the most powerful gaming computers and precision workstations feel adverse effects from Windows 10 rich features and content and ever so intrusive background activity. Just what the heck is Microsoft doing in the background anyway? The real answer is…… who knows, or do I even want to know? However, that topic can get very political and is very opinion driven and we know what they say about opinions but I’ll skip that part. For now let’s move on to speeding up Windows 10.
Edit User Profile
1. Turn off all the background noise.
Windows 10 has Apps, and charms, and location services and on and on. All of these things are constantly reporting back to the “mother ship” and hogging precious resources and bandwidth. Lets start by turning off most of these things.
Navigate to your [Start Menu] and click [Settings].
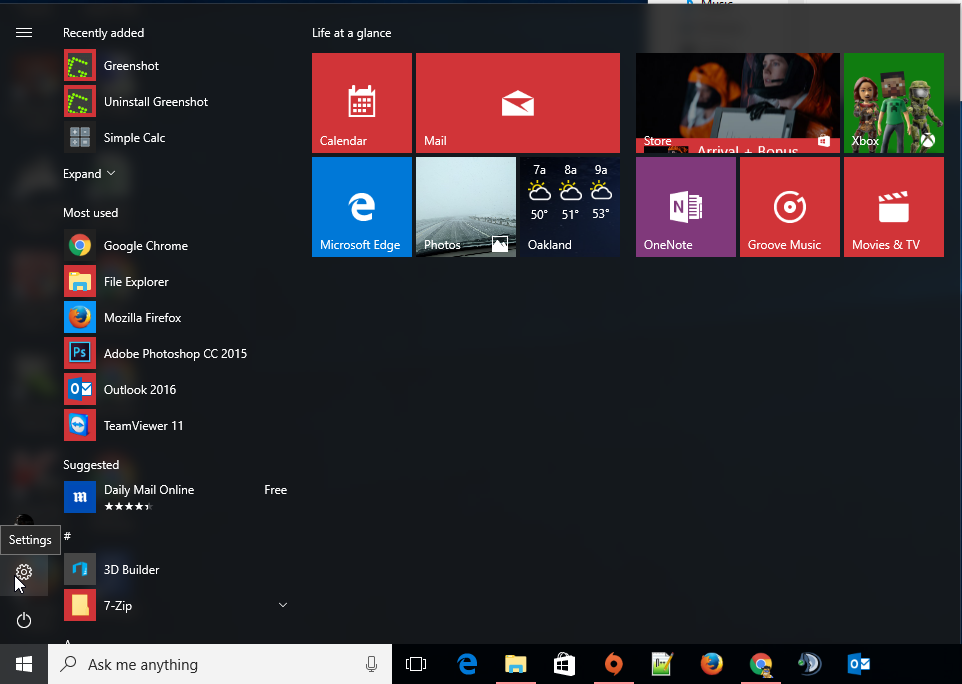
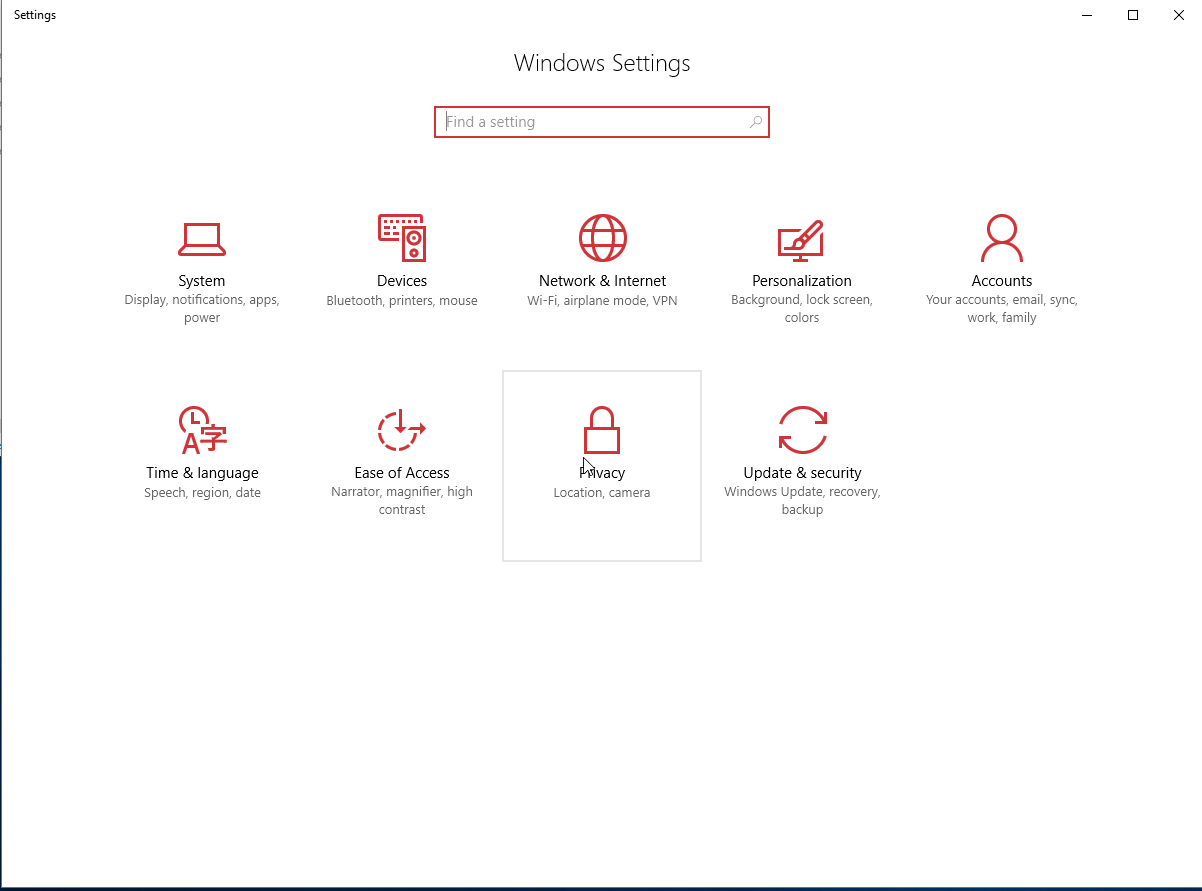
Next click on [Privacy]
Now on the [General] tab turn the [slider] to the “Off” position for all categories.
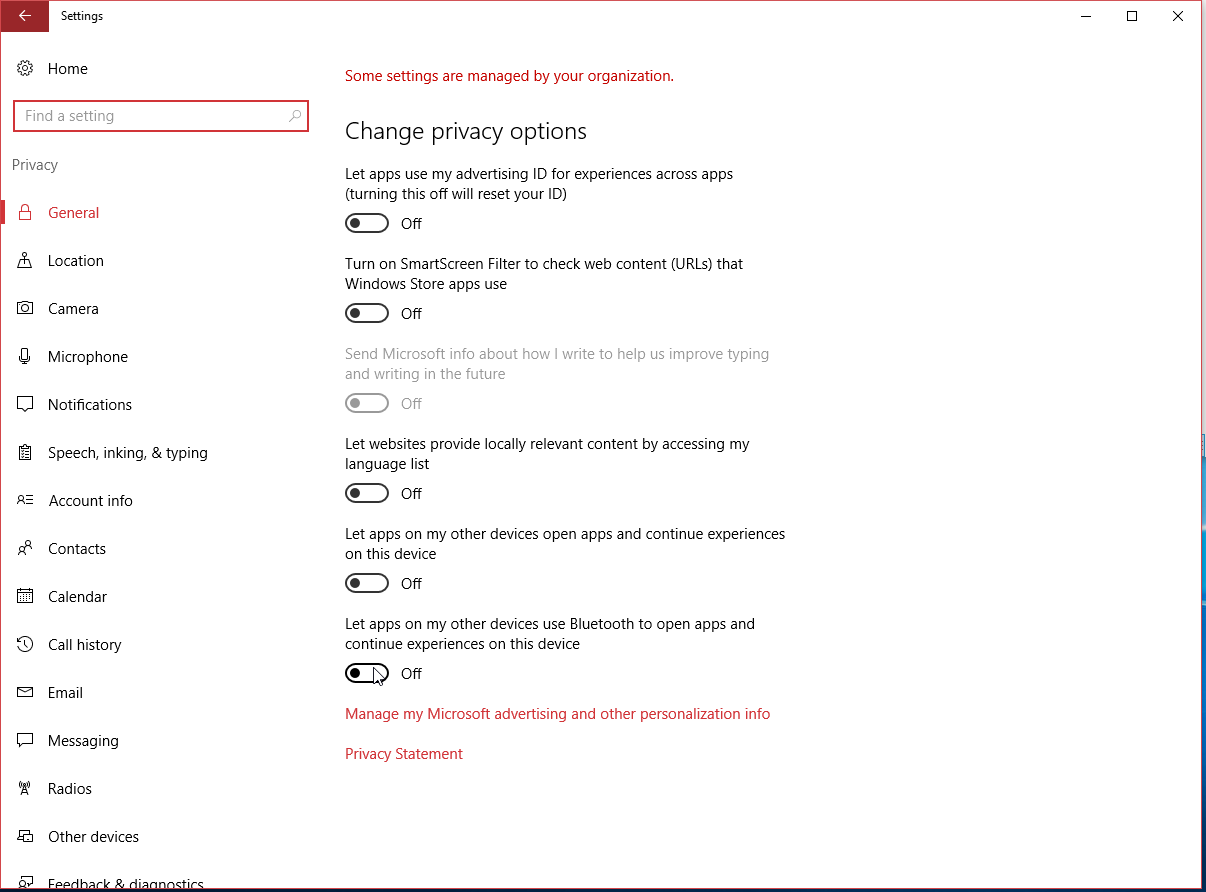
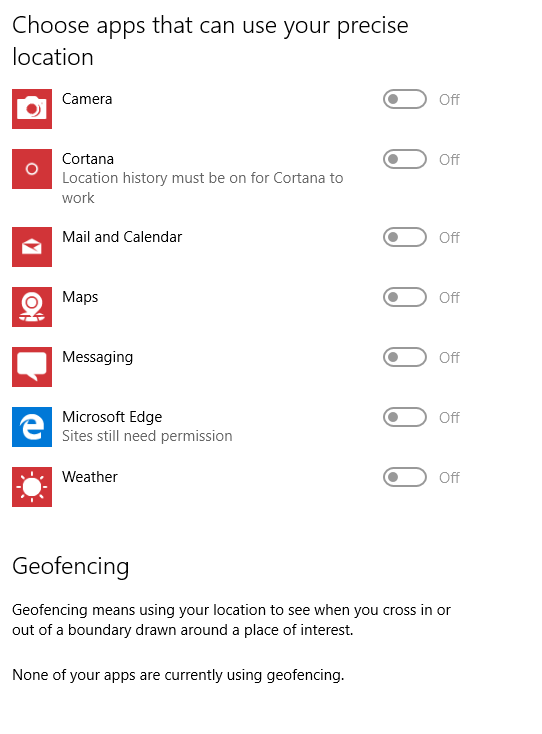
On the [Location] tab turn the [slider] to the “Off” position for all categories. (Click on each image to enlarge).

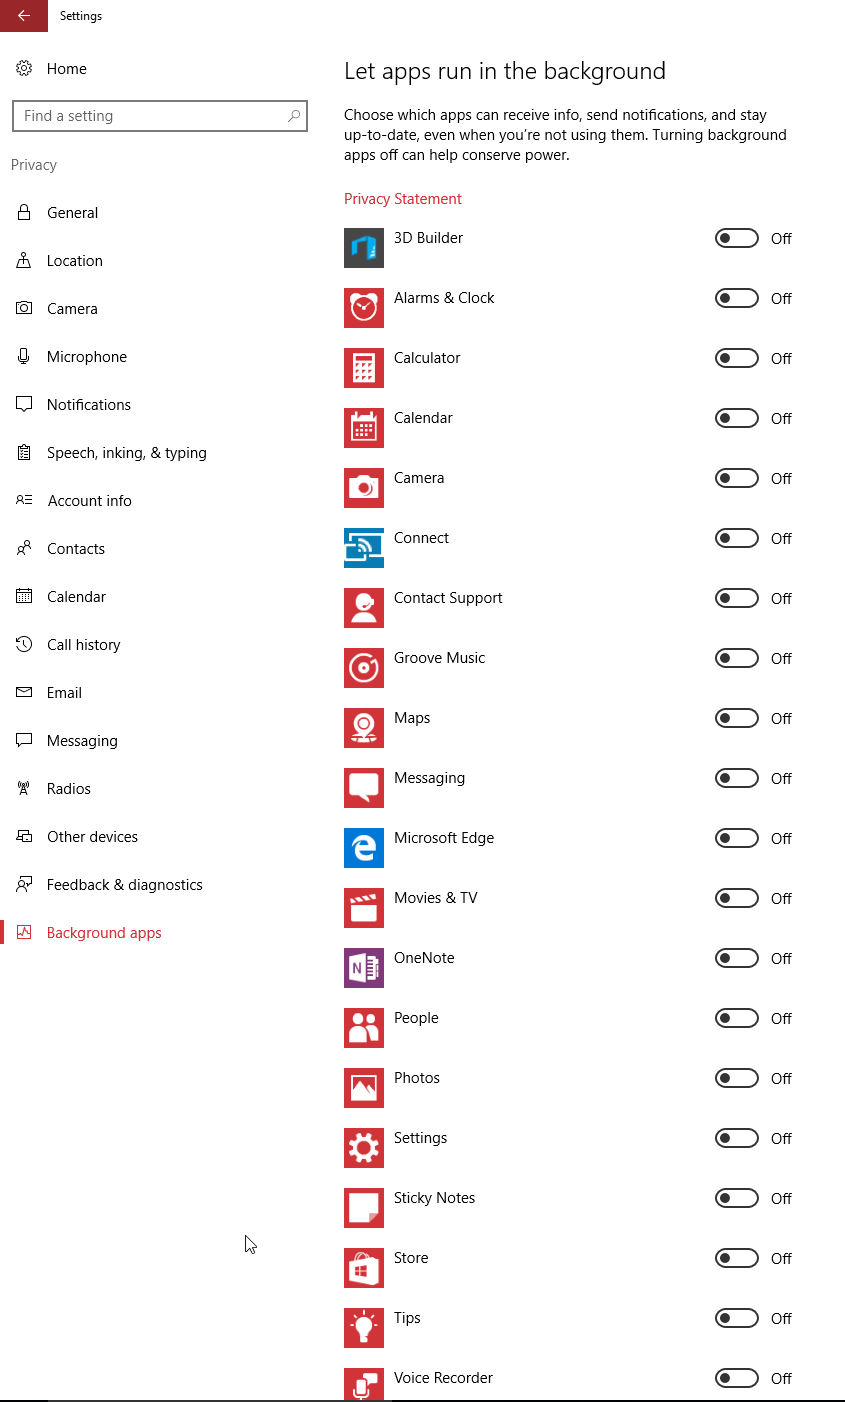
Lastly, go to the [Background apps] tab and turn the [slider] to the “Off” position for all categories.
2. Tweak startup processes.
All versions of Windows have programs, drivers, widgets, and many other things that “startup” automatically when Windows boots. These items depending on what they are and how many you have can drastically slow down your boot time. Lets disable the un-needed ones.
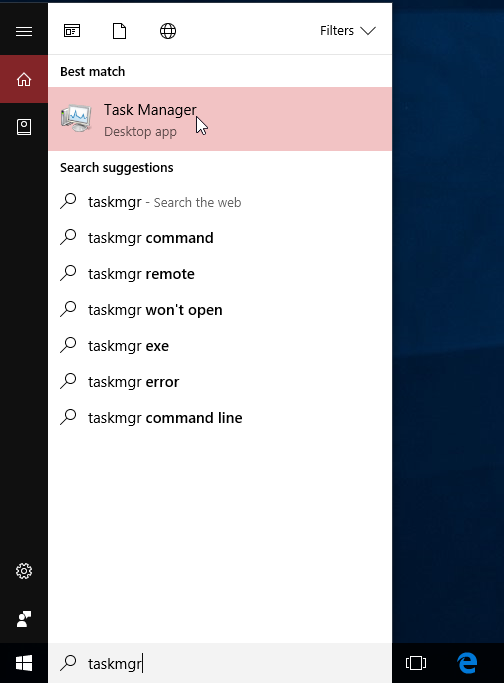
Click on your [Start Menu] and begin typing in the words “taskmgr”. Click the [Task Manager] icon at the top of the search results.
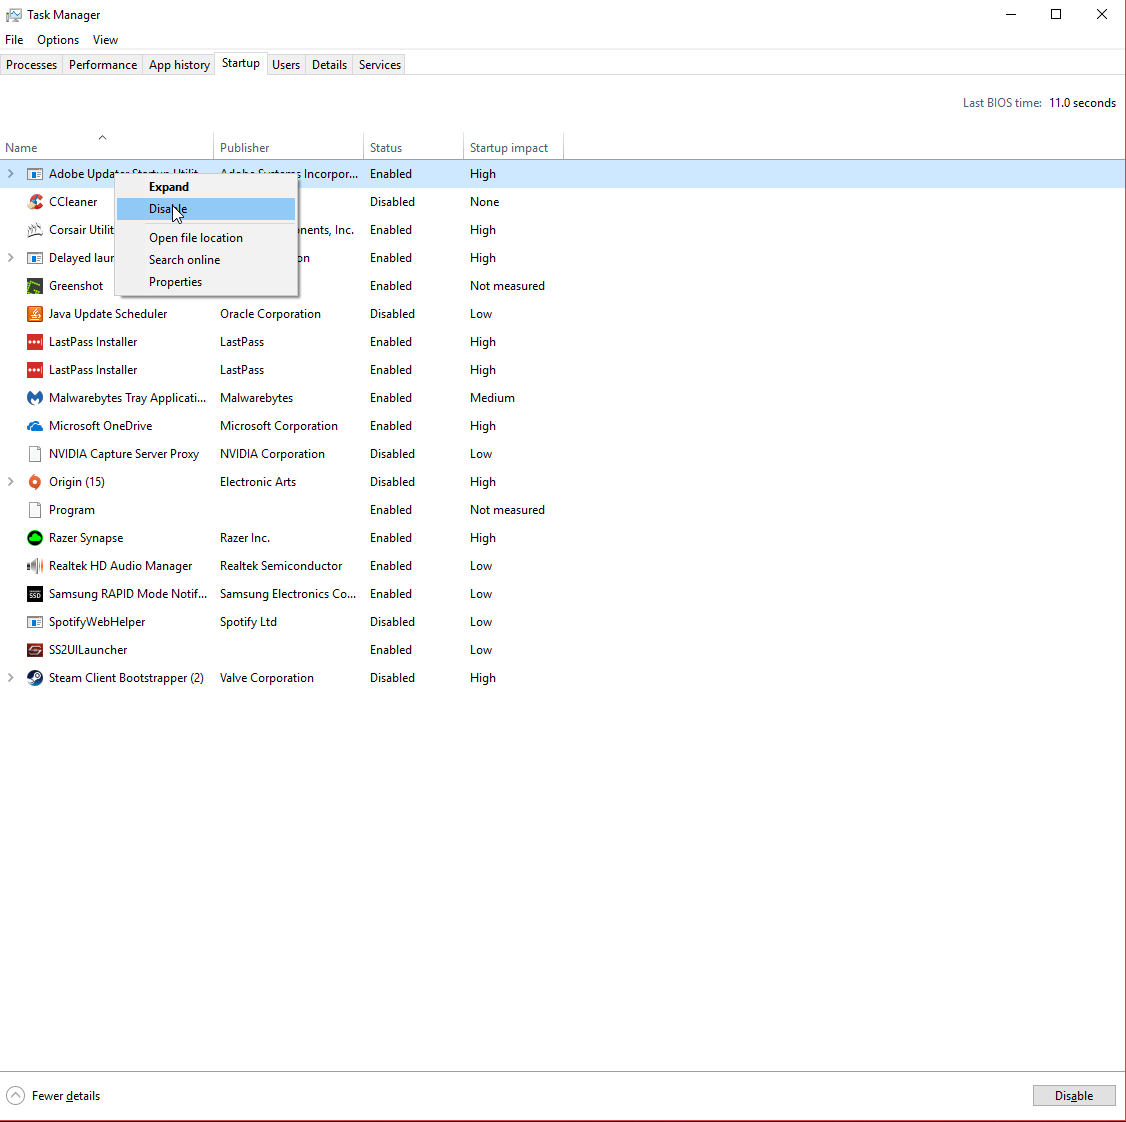
When Task Manager launches, carefully read through the list of entries. Be VERY careful not disable the wrong item as it could lead to unintended results. Things that say “Intel” or “AMD” or “Realtek” are usually programs that control device hardware and drivers. In some cases you can disable these things but it is usually best to leave them enabled. When in doubt just don’t touch it. Consult an expert and they can advise you as to what to disable and what to leave enabled. It should be noted that disabling a startup item does NOT delete or uninstall the program. It simply tells it not to start automatically when Windows boots.
To disable a startup item, simply [right click] and select [disable]. That’s it! Do that on all the items that don’t need to start with Windows. To test your results simply close the open window and reboot your computer.
NOTE: If you really want to know the impact this has on your computer, simply time the startup process before and after this tweak with a stop watch. It is good to have a couple of each times in order to gain an average.
3. Uninstall Apps
Windows 10 comes with all kinds of useless “Craplets” or crappy applets that can be removed (pardon the modern English). This not only frees up a little bit of space but it’s also one more thing NOT communicating back to the Microsoft Mother ship.
Click on the [Start menu] and go to [Settings].
Click on [System]

Select the [Apps & features] tab and highlight any and all apps you want to remove. Now click [Uninstall]. Repeat this step until all the unwanted apps are removed.

4. Install an SSD
Most computers currently still come with a mechanical HDD (Hard Disk Drive), however SSD (Solid State Disk) pricing has dropped significantly in the last few years making that upgrade a lot more affordable. Mechanical HDD’s have a read / write speed ranging from 50 MB/s to 150 MB/s depending on the drive size, rpm, and manufacturer. SSD’s typically have a read / write in the upwards of 500+ MB/s. That’s an incredible 500% increase from some HDD’s!
Most computers can get by with a 250GB SSD and they are usually in the $80 price range. Consult your nearest computer repair store for pricing and installation.
5. Turn on Metered connection (Wifi only)
Due to Windows 10 amazing visual styles, rich content & features, and let’s not forget…hhhmmm… Intrusiveness, it has a significant draw on your internet bandwidth. For most high speed internet users this isn’t a huge deal. However, even on a decent broadband connection, if you’re on Wifi it can drain your overall throughput and leave you surfing the web on your Mom’s old AOL connection. Remember those days? I sure do, I can still hear the dialing sound as I hopped in the shower, brushed my teeth and got dressed, and if I was lucky, I just might be able to squeeze one more game of Yahoo Pool in before school starts. Okay, so maybe it’s not quite that bad but most of us can still tell that you’re not hooked directly into your modem or router with a full Gigabit Ethernet connection.
Lets change a setting that will selfishly give “us” more bandwidth and not the “mother ship”
Go to your connection icon on the right hand side of your task bar. This will either be a picture of three wireless bars with a dot at the bottom or a picture of a computer monitor and a cable running through it on the left hand side of the icon. [Left Click] the icon and go up in the list until you get to your Wifi SSID name and [Left Click] on the SSID and click [Properties]

Now scroll down until you find [Metered connection] and move the [slider] to the “On” position. That’s it! You have now limited Windows from hogging your bandwidth.
